


How to Embroider 4 SIDES of a HAT (3D Puff Front & Back)
Date:2022-10-18 Browse:3325
https://www.youtube.com/watch?v=wXW8aAz-8ko
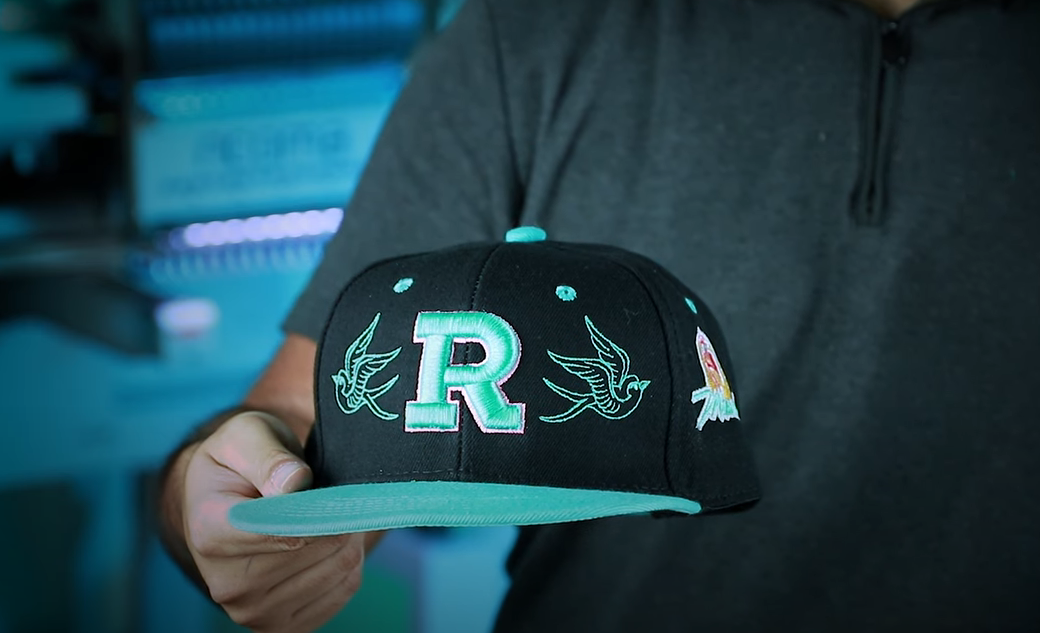
Would you like to learn how to embroider ALL four sides of a six-panel cap while also incorporating a 3D puff effect? Then be sure to follow along with us as we four Miami-inspired designs and take you step-by-step through the process of embroidering them on each side of a flat bill, six-paneled structured cap. You’ll learn what materials you’ll need, how to set it up in digitizing software, tips and tricks for creating a 3D puff effect, and proper hooping techniques to get a fully-covered, one-of-a-kind finished product that will fly off the shelves.
Check out this must-see tutorial on how to digitize a 3D puff design: https://youtu.be/Vj_sWs7HbIo]Watch this video for more information on the 8-in-1 device and different cap embroidery hoops: https://youtu.be/Ikm_BQfou_Q
Join the Ricoma newsletter for educational blogs, videos, and live webinars: https://info.ricoma.com/newsletter
To learn more, schedule a virtual demo today: https://ricoma.com/US/virtual-demo
Get our latest Ricoma embroidery YouTube videos sent straight to your Facebook Messenger: https://manychat.com/l2/RiCOMA.us
To learn more about our embroidery machines, visit our website: https://ricoma.com/US
00:00 Intro
01:10 Materials you’ll need
02:00 How to digitize
04:03 Proper hooping techniques
05:29 Embroidery process
05:51 3D puff effect
07:50 Back-side embroidery process
09:44 Finished cap
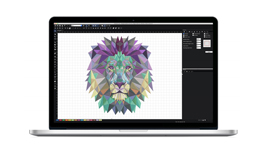
We begin by giving you a breakdown of all the materials you’ll need to embroider on all four sides of a flat bill, six-panel structured cap. From there, we’ll show you how to a four-sided design efficiently in your digitizing software. For this project, we used Ricoma’s industry-leading Chroma Luxe software.
After that, it’s time to embroider our Miami-inspired cap. We’ll take you step-by-step through the entire process — from proper hooping techniques to how to properly embroider each side of the cap and achieve a 3D puff effect in your design. Along the way, you’ll learn all the tips and tricks to make sure your four-sided cap embroidery goes as smoothly as possible.


