https://www.youtube.com/watch?v=trxWSeRVVyY
Now that we have all three of our designs digitized, are you ready to apply them onto a custom garment for an INSANE profit margin? In the second half of this special 2-part episode of Embroidery Hub, we use our MT-1501, 15-needle commercial embroidery machine to embroider two eye-catching designs and an appliqué design onto a puffer jacket. We’ll take you through the entire process step-by-step, including the materials you’ll need and how to hoop and embroider each design. Plus, we’ll share some expert tips to ensure your designs pop and discuss how much profit you stand to make from a project like this.
Watch part 1 to learn how to digitize designs and appliqué for a custom puffer jacket:
 • Digitizing 3 Desi...
• Digitizing 3 Desi... Learn more about an alternative method for applying applique to a garment:
• INSANE Profit Pot...
• INSANE Profit Pot...
• INSANE Profit Pot...
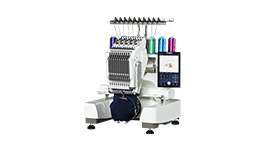
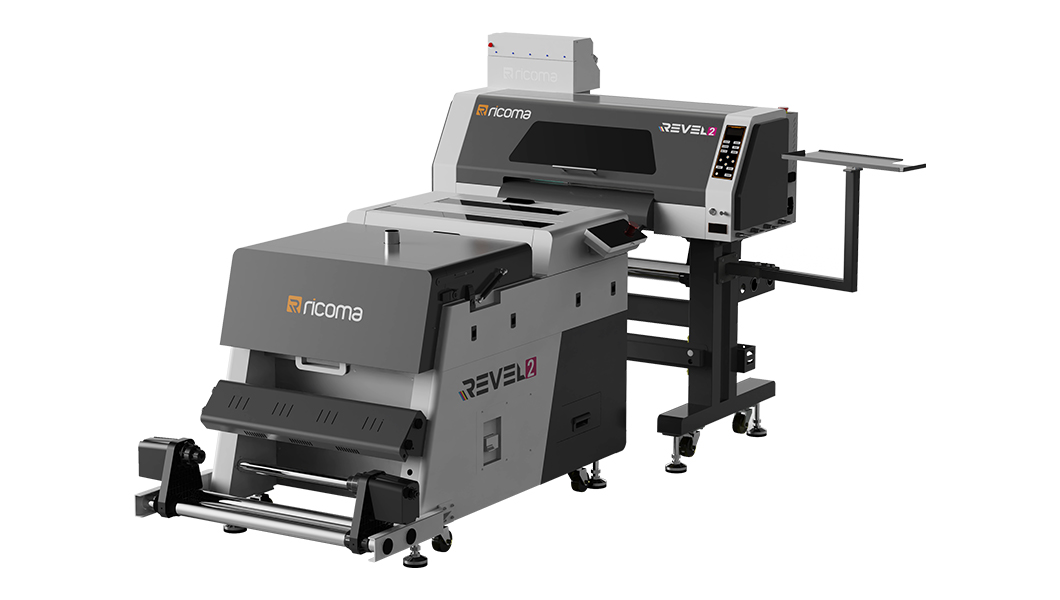
To learn more about our MT-1501,15-needle commercial embroidery machine, contact us today: https://ricoma.com/US/contact-us
Check out our top-rated embroidery accessories for easy hooping and much more: https://shop.ricoma.com/collections/e...
Join the Ricoma newsletter for educational blogs, videos, and live webinars: https://info.ricoma.com/newsletter
To learn more, schedule a virtual demo today: https://ricoma.com/US/virtual-demo
Get our latest Ricoma embroidery YouTube videos sent straight to your Facebook Messenger: https://manychat.com/l2/RiCOMA.us
Follow Ricoma on Facebook to check out more of our videos and educational content, and to tune in to our Live Q&As: https://www.facebook.com/ricomahq
Follow Ricoma on Instagram to view more great videos and tutorials featuring custom apparel pieces that you can make from home: https://www.instagram.com/ricomahq/
Follow Ricoma on TikTok for even more educational and entertaining videos: https://www.tiktok.com/@ricomahq
To receive embroidery tips and techniques from seasoned pros and get free embroidery content and advice, join our Facebook group, Embroidery & Custom Apparel Mastery: https://www.facebook.com/groups/embro...
To learn more about our embroidery machines, visit our website: https://ricoma.com/US
00:00 Intro
00:48 Materials
01:23 Hooping garment
01:41 Applying appliqué
2:09 Cutting away excess fabric
03:13 Embroidering back logo
04:36 Removing stabilizer
04:59 Hooping for left chest logo
05:10 Embroidering left chest logo
06:50 Finished product
07:13 Profit potential
We begin the second half of this special two-part series by making a list of all the materials you’ll need to embroider three designs with appliqué onto a puffer jacket, including the types of needles, cutaway, stabilizer and more. Next, we’ll teach you how to properly hoop your puffer jacket with a mighty hoop for the back logo design and lay down your appliqué fabric to prepare for the first run stitch that will tack down that fabric.
From there, we’ll show you how to cut the excess fabric away so you can let the machine finish embroidering the border of the appliqué design. Once the appliqué design is finished, we’ll place the stabilizer over the jacket, explain why that's important to the integrity of the design, and finish embroidering the rest of the back logo design.
Then, we’ll show you how to hoop the puffer jacket again for the left chest logo design and apply your stabilizer over the embroidery area. Once again, we’ll take you through that decorating process step-by-step, from tracing the design and embroidering to removing the stabilizer. Finally, we’ll show you the finished product and discuss how much profit you stand to make from a project like this.